Crypto Checkout Process Explained for Online Shoppers

TL;DR:
- The crypto checkout process involves selecting a coin, sending funds, and waiting for blockchain confirmations before order fulfillment. Knowing each step helps prevent errors, especially network mismatches and address typos, which can be irrecoverable. Stablecoins on fast networks like Tron enable near-instant payments and protect against price volatility during transactions.
The crypto checkout process is the structured sequence of steps a buyer follows to pay with digital currency at an online store, from selecting a coin to receiving order confirmation. Unlike a credit card transaction, this process routes through a blockchain network and requires confirmation from multiple nodes before a merchant can safely fulfill an order. Understanding each step protects you from costly mistakes and helps you move through any cryptocurrency payment process with confidence. Cryptoesim accepts Bitcoin, Ethereum, and over 300 other tokens, making this knowledge directly useful the moment you check out.
What are the standard steps in the crypto checkout process?
The crypto checkout process follows six defined steps, and knowing each one prevents the most common errors buyers make. The steps are: select your cryptocurrency, receive a unique payment address and QR code, send funds from your wallet, wait for network confirmations, let the gateway detect the payment, and receive order fulfillment. Each step has a distinct purpose, and skipping any one of them mentally is where problems start.
Step 1: Select your cryptocurrency. At checkout, you choose which coin or token to pay with. The gateway then calculates the exact amount owed at the current exchange rate.
Step 2: Receive the payment request. The gateway generates a unique wallet address and a QR code tied to that specific order. This address is single-use and expires after a set window, typically 10 to 20 minutes. That expiry window exists to protect both you and the merchant from price swings between the moment you see the invoice and the moment funds arrive.

Step 3: Send funds from your wallet. Open your wallet app, scan the QR code or paste the address, enter the exact amount, and confirm the transaction. This is the step where most errors happen.
Step 4: Wait for network confirmations. Once your transaction is broadcast, the blockchain network begins confirming it. Confirmation times vary widely: Tron stablecoin transactions confirm in seconds, while Bitcoin can take up to 60 minutes during network congestion. The number of confirmations required depends on the gateway’s risk settings.
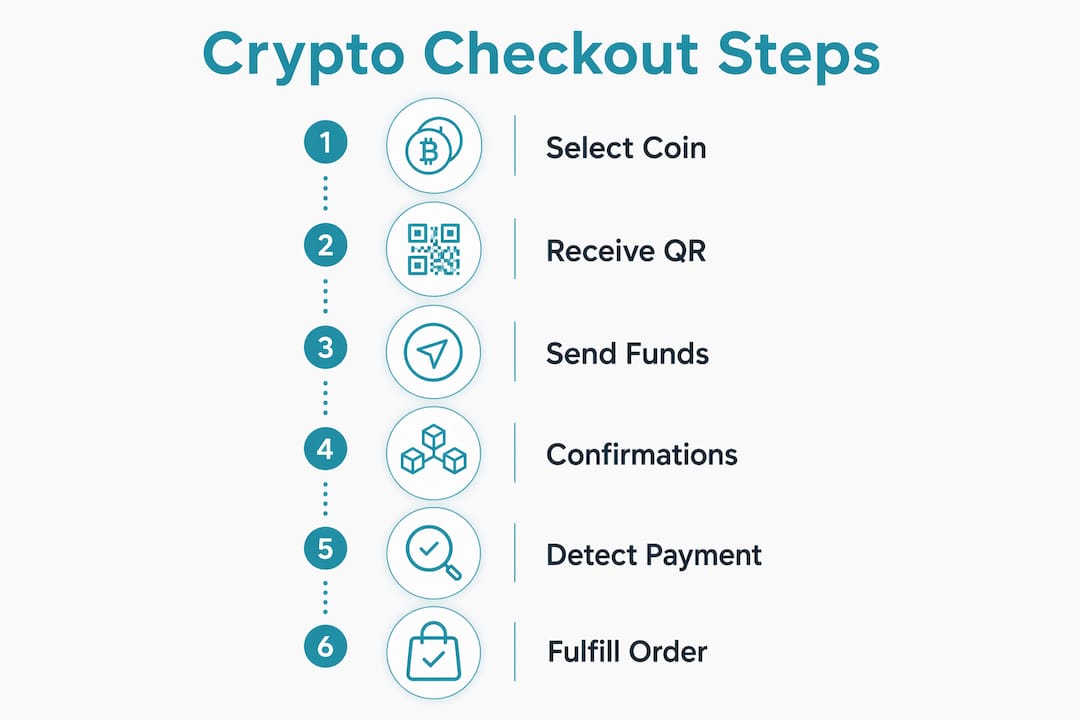
Step 5: Gateway detects the payment. The payment gateway monitors the blockchain continuously. Once it detects your transaction and the required confirmations are met, it marks the invoice as paid.
Step 6: Order fulfillment. The merchant’s system receives an automated notification and processes your order. For digital products like eSIM plans, delivery is typically instant at this point.
Pro Tip: Always complete the payment before the invoice timer expires. If it expires, request a new invoice rather than sending funds to the old address. Payments sent to expired invoices may not be credited automatically.
How does a crypto payment gateway secure the checkout?
A crypto payment gateway handles every layer of complexity between your wallet and the merchant’s system. The gateway’s core responsibilities include:
- Invoice generation: Creating a unique address and locking the exchange rate for the duration of the checkout window.
- Blockchain monitoring: Watching the network in real time for incoming transactions to the generated address.
- Exchange rate locking: Quote locking by gateways protects merchants and buyers from price fluctuations during the checkout window. Without this lock, a volatile asset like Bitcoin could change value between invoice creation and payment receipt.
- Automatic settlement: Converting received crypto to fiat or stablecoins and settling to the merchant’s account.
- Webhook notifications: Sending real-time status updates to the merchant’s platform so orders process automatically without manual review.
Gateways come in two models: custodial and non-custodial. Custodial gateways hold funds on behalf of the merchant before settlement, which introduces a third-party risk. Non-custodial gateway integrations give businesses direct control over their funds, removing that custody risk entirely. For buyers, the distinction matters less directly, but it affects how quickly a merchant can process refunds and how securely the platform operates overall.
“Cryptocurrency payments are not instant. Finality requires multiple blockchain confirmations to be irreversible and trustworthy for merchants. Gateways balance confirmation depth to avoid risk and excessive delay.” — What Is a Crypto Payment Gateway and How Does It Work?
Good webhook handling also matters for your experience as a buyer. When a gateway sends accurate, real-time status updates to the merchant, your order processes the moment payment is confirmed. Platforms with poor webhook handling can leave orders in a pending state even after your funds have cleared, which creates unnecessary confusion.
What errors happen during crypto checkout, and how do you avoid them?
The most costly mistakes in the cryptocurrency payment process are preventable. Network mismatches top the list. Sending a token on the wrong blockchain, for example, sending USDT on the Ethereum network when the invoice expects USDT on Tron, can result in funds that are irrecoverable without merchant intervention. The address may look identical across networks, which is exactly why this error is so common.
Manual address typing is the second major risk. One in five payment troubleshooting cases trace back to manual wallet address entry errors. A single wrong character sends funds to a nonexistent or unintended address, and the blockchain does not care. The transaction confirms regardless.
Before you send any payment, run through this checklist:
- Verify the asset. Confirm you are sending the exact token the invoice specifies, not a similar one.
- Verify the network. Check that your wallet is set to the same blockchain network shown in the invoice. USDT on Tron and USDT on Ethereum are different assets on different rails.
- Verify the amount. Send the exact amount shown, including any network fee buffer your wallet requires.
- Use QR code or copy-paste. Never type a wallet address manually. Scan the QR code or copy directly from the invoice page.
- Check the expiry timer. Confirm you have enough time to complete the transaction before the invoice expires.
Crypto transactions are irreversible once broadcast to the network. Refunds do not work like credit card chargebacks. A merchant must initiate a new outbound transaction on their own terms. Always review the merchant’s refund policy before paying, and contact support immediately if you send to the wrong address or network.
Pro Tip: Before confirming any crypto payment, paste the destination address into a blockchain explorer and verify it matches the invoice address character by character. This takes 10 seconds and eliminates the most expensive mistake in crypto checkout.
How long does the crypto checkout process take?
Payment detection happens almost immediately after you broadcast a transaction. The gateway sees the unconfirmed transaction within seconds of it entering the mempool. What takes time is confirmation depth, which is the number of blocks the network must add before the gateway treats the payment as final.
The table below shows how confirmation times differ across common networks and assets.
| Network / Asset | Typical confirmation time | Confirmations usually required |
|---|---|---|
| Tron (USDT-TRC20) | 3–10 seconds | 1–2 |
| Ethereum (ETH, USDT-ERC20) | 15 seconds to 5 minutes | 12–20 |
| Bitcoin (BTC) | 10 minutes to 60 minutes | 1–6 |
| Litecoin (LTC) | 2–5 minutes | 3–6 |
Stablecoins on Tron confirm in seconds, which is why many crypto-friendly merchants and platforms favor them for checkout. Bitcoin’s confirmation time depends heavily on network congestion and the fee you attach to the transaction. A low-fee Bitcoin transaction during peak congestion can sit unconfirmed for an hour or more, which creates a real problem if the invoice expires at the 20-minute mark.
The practical takeaway is straightforward. If speed matters, use a stablecoin on a fast network like Tron. If you prefer Bitcoin, attach a competitive fee and start the payment immediately after the invoice loads. For crypto payments in telecom and digital goods, fast-confirming assets make the experience feel much closer to a standard card payment.
Key Takeaways
The crypto checkout process is a six-step sequence requiring the right asset, the right network, and timely payment within an invoice window to complete successfully.
| Point | Details |
|---|---|
| Six defined steps | Select crypto, receive address, send funds, await confirmations, gateway detects, order fulfills. |
| Invoice expiry windows | Invoices expire in 10–20 minutes to protect against price volatility; always pay promptly. |
| Network mismatches are irrecoverable | Always verify both the token and the blockchain network before sending any payment. |
| Confirmation time varies widely | Tron stablecoins confirm in seconds; Bitcoin can take up to 60 minutes under congestion. |
| Gateways lock exchange rates | Rate locking protects both buyer and merchant from price swings during the checkout window. |
What I’ve learned from watching buyers struggle with crypto checkout
Most people who have trouble with crypto checkout are not making technical mistakes. They are making attention mistakes. They rush through the network selection screen because it looks like a minor detail, and that is exactly where the costly errors live.
The biggest misconception I see is treating a crypto payment like a card tap. It is not. A card payment reverses. A blockchain transaction does not. That difference changes how carefully you need to read each field before hitting confirm. Patience at the verification step is not optional.
My practical advice: use stablecoins whenever the merchant supports them. Price stability during the checkout window removes one entire category of stress. You do not need to worry about Bitcoin dropping 3% between invoice generation and confirmation. USDT on Tron is $1.00 when you send it and $1.00 when it arrives.
The other thing most guides skip: choose platforms that show clear, separate fields for asset and network selection. When a checkout interface bundles those two choices into one dropdown, errors multiply. A well-designed checkout, like the one Cryptoesim uses, makes the distinction obvious. That design choice alone prevents the most common and most expensive mistake in the entire crypto checkout flow.
— Mohammed
Cryptoesim makes crypto checkout straightforward
Cryptoesim accepts Bitcoin, Ethereum, and over 300 tokens for eSIM data plans covering 190+ countries. The checkout requires no account creation and no KYC verification, so you move from selection to payment in minutes.
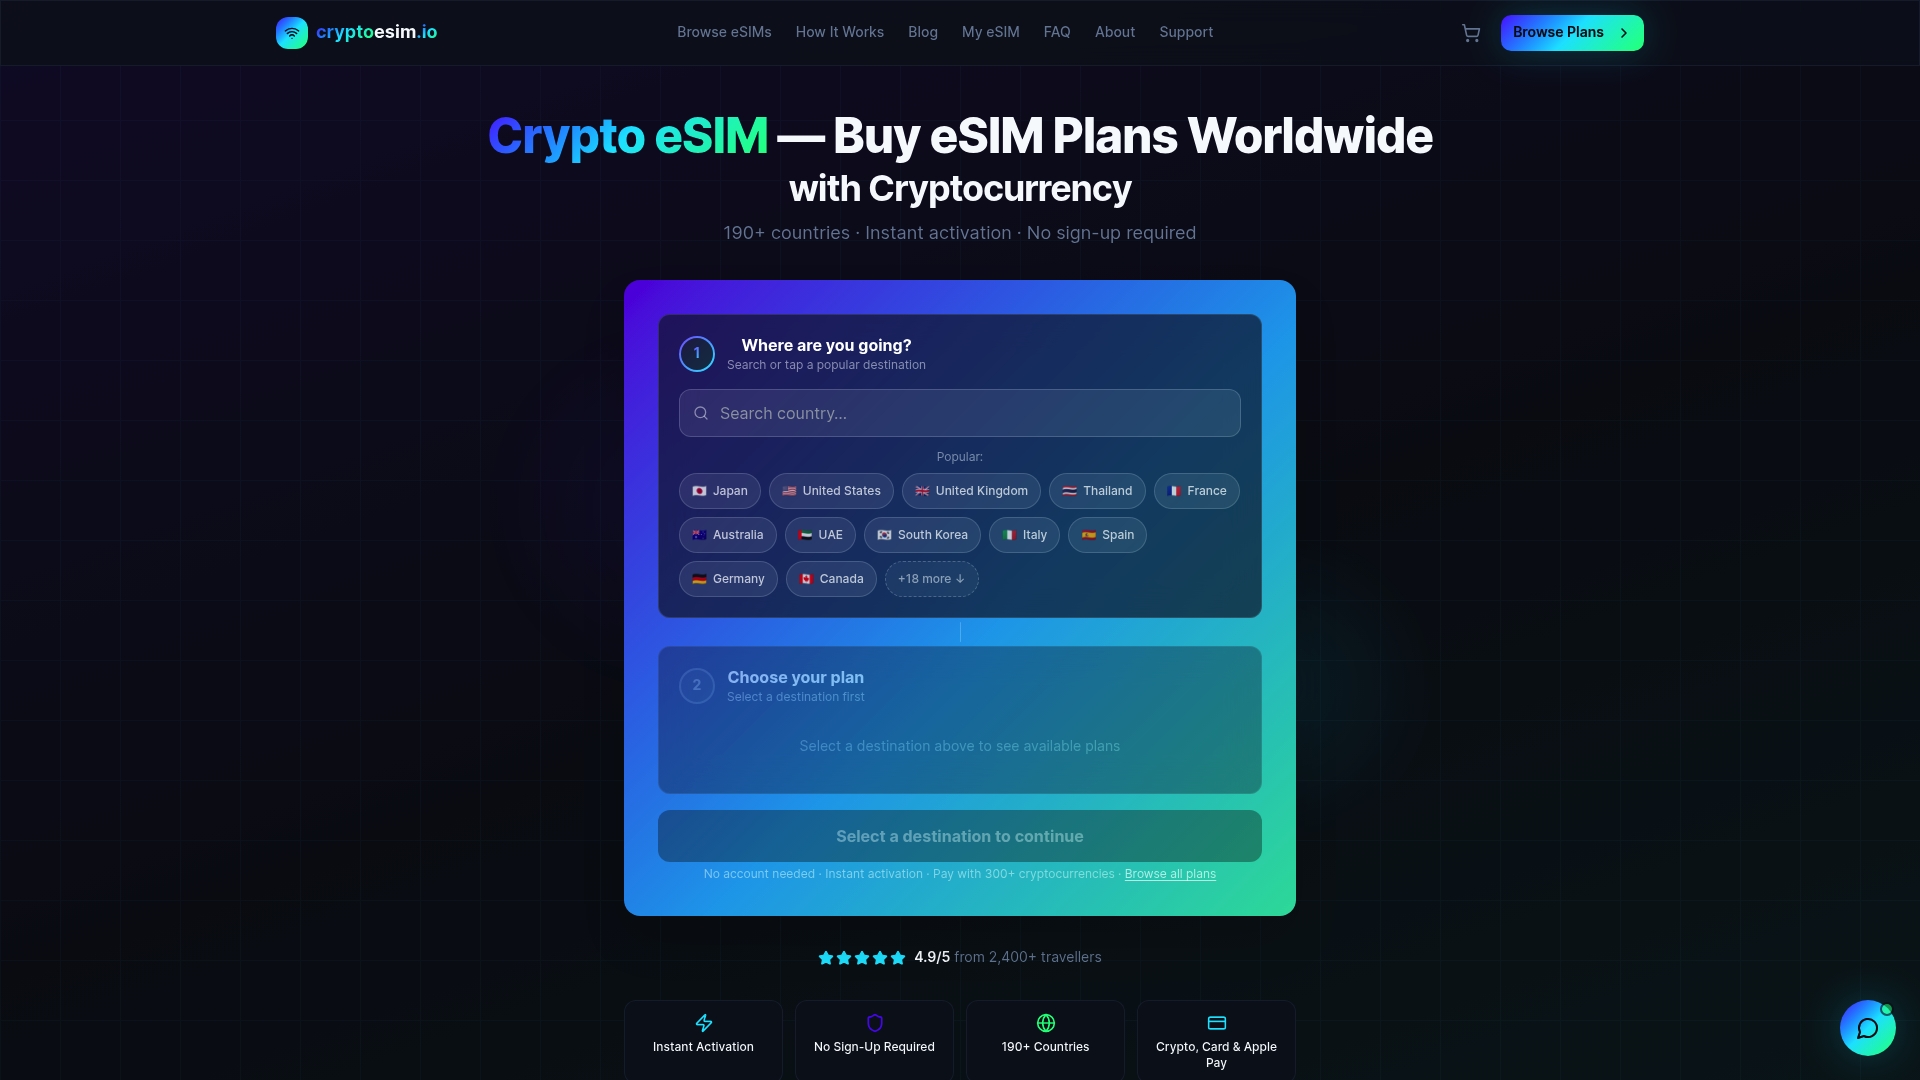
The payment gateway locks your exchange rate the moment you open the invoice, protecting you from price swings during the checkout window. Fast-confirming networks like Tron make the process feel close to instant. Whether you are a traveler, remote worker, or digital nomad, you can buy an eSIM with crypto and get connected without friction. Cryptoesim is built for buyers who already understand crypto and want a checkout that respects that.
FAQ
What is the crypto checkout process?
The crypto checkout process is a six-step sequence where a buyer selects a cryptocurrency, receives a unique payment address, sends funds, and waits for blockchain confirmations before the merchant fulfills the order.
How long does a crypto payment take to confirm?
Confirmation time depends on the network. Tron stablecoin transactions confirm in seconds, while Bitcoin can take up to 60 minutes during periods of high network congestion.
What happens if I send crypto to the wrong network?
Sending a token on the wrong blockchain network is typically irrecoverable without direct merchant intervention. Always verify both the asset and the network before broadcasting any transaction.
Why do crypto invoices expire?
Crypto invoices expire after 10–20 minutes to protect against price volatility. If the invoice expires before payment is received, you must request a new one rather than sending funds to the old address.
Are crypto payments refundable?
Crypto transactions are irreversible once confirmed on the blockchain. Refunds require the merchant to initiate a new outbound transaction, and the terms are entirely at the merchant’s discretion.