Digital Nomad eSIM Process: Step-by-Step Guide for 2026
TL;DR:
- The digital nomad eSIM process involves purchasing, downloading, and activating a mobile profile entirely online, with no physical SIM needed. Travelers must ensure their device is unlocked, have a stable internet connection, and keep backup activation details to avoid failures. Proper profile labeling, timely installation, and correct activation prevent common issues like network failure and unexpected charges.
The digital nomad eSIM process is defined as purchasing, downloading, and activating a mobile data profile entirely over the internet, with no physical SIM card required. Your device stores the profile digitally, and you switch between plans the same way you switch between Wi-Fi networks. This guide covers every stage from prerequisites through activation, plus troubleshooting and multi-profile management. Device compatibility starts at iPhone XS and newer on the iOS side, and most Android flagships from 2020 onward support the GSMA eSIM standard.
What do you need before starting the eSIM activation process?
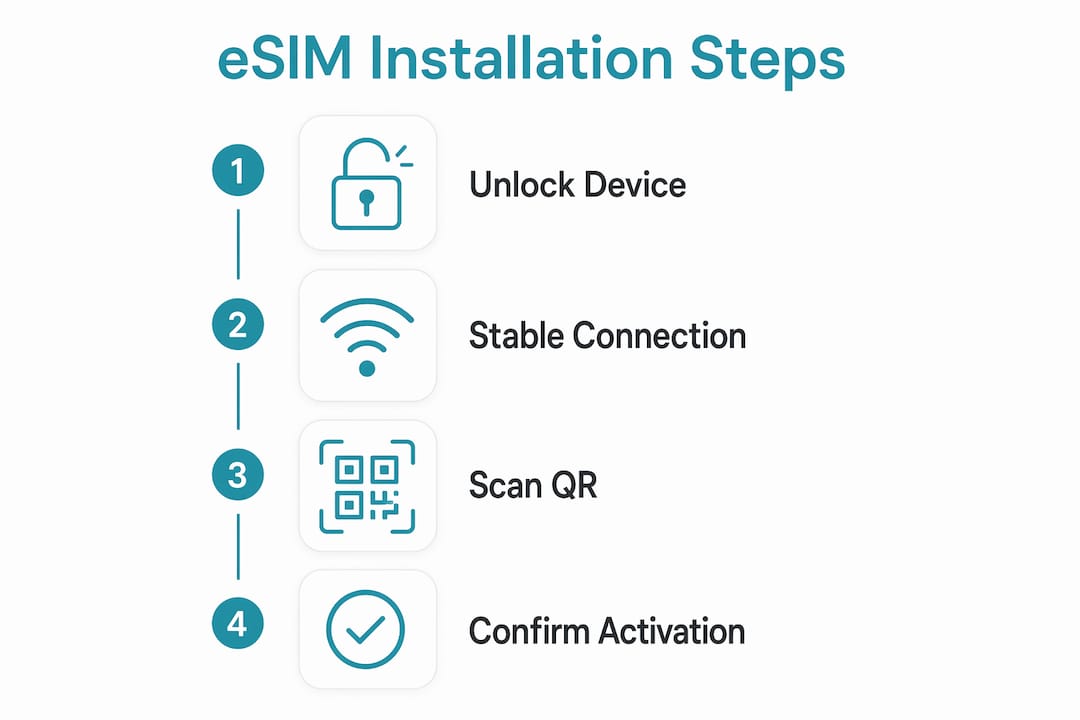
Three things must be true before you install any eSIM profile: your device is carrier-unlocked, you have a stable internet connection, and you have your QR code or manual activation details ready. Miss any one of these, and the installation will fail or stall.
Device compatibility and unlock status
Your device must be carrier-unlocked to accept a third-party eSIM profile. A locked device is tied to its original carrier and will reject any profile from another provider. Check your unlock status in Settings under “Carrier” on iOS, or contact your home carrier directly. On Android, the path varies by manufacturer, but the principle is the same.
Internet connection requirements
eSIM profile files are small but the download still needs a reliable connection. Each profile download runs between 100 and 500 KB. That is a tiny file, but an unstable connection mid-download corrupts the profile and forces you to request a new one. Use Wi-Fi at your hotel, airport lounge, or a coffee shop before you board.
What to have ready before you start
- Your QR code, saved as a screenshot or printed copy
- Manual activation details (SM-DP+ address and activation code) as a backup
- Your destination plan details, including the data allowance and validity period
- Confirmation of whether your plan activates on install or on first use
Pro Tip: Screenshot your QR code and email it to yourself before you travel. QR codes are single-use, and if your phone dies or you lose the original email, you may not be able to get a replacement quickly.
How to install your eSIM profile step by step
Installation and activation are two separate steps. Installing downloads the profile to your device. Activating connects it to a live network. Confusing the two is the most common mistake digital nomads make with travel eSIM options.
Installation steps for iOS
- Go to Settings > Cellular > Add eSIM.
- Choose “Use QR Code” and scan the code from your provider.
- Confirm the plan details on screen and tap “Add Cellular Plan.”
- Label the plan clearly, for example “Thailand June” or “Japan Work Trip.”
- Choose whether to activate now or later. If your plan starts on first use, select “later.”
Installation steps for Android
- Go to Settings > Network & Internet > SIMs > Add eSIM.
- Tap “Scan QR code” and scan your provider’s code.
- Follow the on-screen prompts to confirm and download.
- Label the profile in settings before closing.
- Leave the profile inactive until you land at your destination.
The installation process takes between 30 seconds and 3 minutes depending on your connection speed. A slow airport Wi-Fi network will push that toward the upper end. Do not close the settings app or lock your screen during the download.
QR codes are single-use, which means scanning the same code twice on different devices will fail on the second attempt. Always save your manual activation code as a backup before you scan anything.
Pro Tip: If your provider offers a start date setting, do not activate your plan at home. Installing too early can burn plan days before you even board your flight. Install the profile, leave it off, and activate it the moment you land.
How to activate your eSIM upon arrival at your destination
Activation is the step that connects your installed profile to a live local network. The technical process involves a secure handshake between your device and the provider’s SM-DP+ server using the Local Profile Assistant flow. That happens automatically once you toggle the line on with a working internet connection.
Activation steps on arrival
- Connect to airport Wi-Fi or use your home SIM data briefly for the initial handshake.
- Go to Settings > Cellular (iOS) or Settings > SIMs (Android).
- Toggle your travel eSIM line to “on.”
- Set the eSIM as your preferred data line.
- Enable data roaming on the eSIM line only.
- Disable data roaming on your home SIM to avoid surprise charges.
- Wait 30 seconds to 2 minutes for the network to connect.
Once connected, your status bar will show the local carrier name. Run a quick speed test or load a webpage to confirm the connection is live before you leave the airport.
Troubleshooting a failed activation
If no network appears after 2 minutes, toggle airplane mode on for 10 seconds, then off. This forces your device to re-scan for available networks. If that fails, restart the device entirely. A full reboot clears any stuck network registration state.
Pro Tip: The best time to activate is right after landing, while you are still connected to airport Wi-Fi. You get the initial handshake done with a reliable connection, and you walk out of the terminal with data already working.
Managing multiple eSIM profiles as a digital nomad
Most modern devices store multiple eSIM profiles but only allow one or two to be active simultaneously. For digital nomads crossing several countries in a single trip, profile management is as important as the initial setup.
The most common error is activating the wrong profile in the wrong country. Clear labeling prevents this entirely. Name every profile with the country and the date range, such as “Vietnam Aug 12–25” rather than a generic carrier name. When you have five profiles stored and you are jet-lagged at 2:00 AM, that label saves you from a frustrating troubleshooting session.
Practical habits for managing multiple profiles:
- Label immediately. Rename the profile the moment installation finishes, before you close settings.
- Test before you rely. Failing to test before travel is the most cited mistake among digital nomads managing multiple profiles. Load a webpage on the eSIM line at home to confirm the profile installed correctly.
- Never delete a profile prematurely. Once deleted, most profiles cannot be reinstalled on the same device. Keep profiles until the plan expires.
- Switch deliberately. When crossing a border, turn off the outgoing country’s eSIM before turning on the new one. Switching both on simultaneously can cause your device to use the wrong line.
- Keep your home SIM in the device. Your home SIM handles calls and SMS from contacts who do not use messaging apps. Keep it active for calls but with data roaming disabled.
Common issues and troubleshooting during the eSIM process
Most eSIM problems fall into four categories: failed installation, failed activation, no network after activation, and unexpected charges. Each has a clear fix.
Failed installation almost always traces back to a locked device or an unstable connection. Confirm your unlock status first, then retry on a stronger Wi-Fi network.
Failed activation usually means the QR code was already used or the profile details were entered incorrectly. Check your email for the manual activation code and enter it by hand instead of scanning.
No network after activation points to a roaming settings error. The fix is straightforward: enable roaming on the eSIM and disable it on your home SIM. Many travelers do the opposite by accident.
Unexpected charges come from leaving data roaming active on the home SIM. Even with an active travel eSIM, your home SIM will connect to a local network and rack up roaming fees if roaming is enabled on both lines.
“The single most expensive mistake a digital nomad makes with eSIM is forgetting to disable data roaming on the home SIM. The travel eSIM works perfectly, but the home SIM silently connects to a local network in the background and generates roaming charges the traveler does not notice until the bill arrives.”
If none of the above steps resolve your issue, contact your eSIM provider directly. Have your order confirmation number, device model, and IMEI ready. Most providers resolve activation issues within a few hours via live chat or email.
Key Takeaways
The digital nomad eSIM process requires four things done in the right order: a compatible unlocked device, a stable connection for installation, correct roaming settings on activation, and clear profile labeling for multi-country trips.
| Point | Details |
|---|---|
| Check device compatibility first | Your device must be carrier-unlocked and support eSIM; iPhone XS and newer qualify. |
| Install before you travel, activate on arrival | Installing at home saves time; activating on arrival prevents burning plan days early. |
| Save manual activation codes | QR codes are single-use, so always back up the manual code before scanning. |
| Set roaming correctly | Enable roaming on the travel eSIM and disable it on the home SIM to avoid surprise charges. |
| Label every profile clearly | Use country name and date range so you switch the right profile at every border. |
What I have learned from years of eSIM travel
The eSIM workflow looks simple on paper, but the details trip up even experienced travelers. The step that catches people most often is the roaming settings. You land, you toggle on the eSIM, and you assume it works. Then you get home and find a $40 roaming charge from your home carrier because you never disabled roaming on that line. I have seen this happen to people who have been using eSIMs for two years.
The second thing I would push back on is the idea that you should activate your eSIM as soon as you buy it. Most plans count days from activation, not purchase. If you activate at home three days before your flight, you lose three days of data before you even need it. Buy early, install early, but activate the moment you clear customs.
The habit that has saved me the most trouble is testing every profile before I need it. I install the eSIM at home, briefly toggle it on with Wi-Fi calling disabled, and confirm the profile loaded correctly. I do not activate it for real data use, but I confirm the profile is there and recognized by the device. That 30-second check has prevented at least a dozen “why is my eSIM not working” moments at foreign airports.
Clear labeling sounds obvious, but most travelers skip it. The default label is usually the carrier name, which means nothing when you have three profiles from three different regional carriers. Rename every profile the second it installs. Your future self, exhausted after a red-eye flight, will thank you.
— Mohammed
Cryptoesim covers the digital nomad eSIM process in 190+ countries
Cryptoesim offers eSIM data plans for over 190 countries, with no account creation required and no KYC process. You buy a plan, receive your QR code instantly, and install it in minutes.
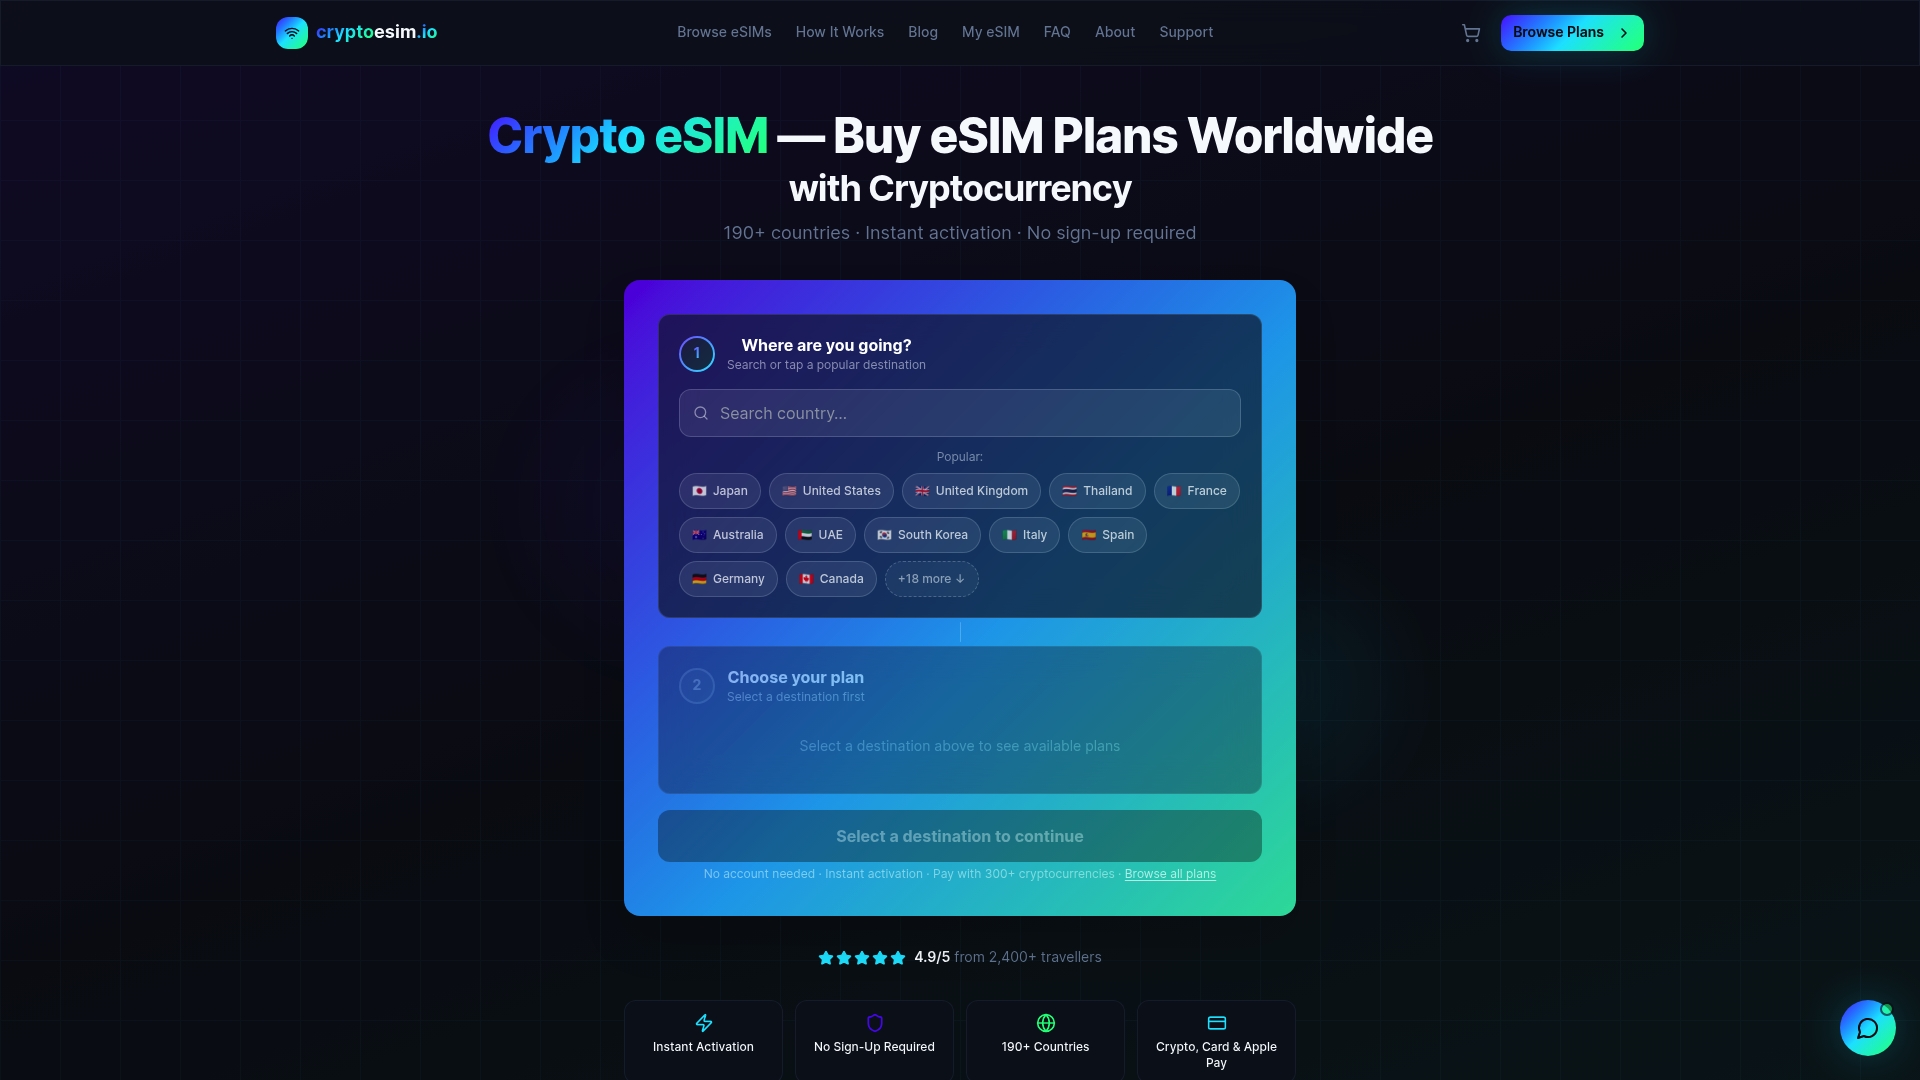
Payment works via Bitcoin, Ethereum, over 300 other crypto tokens, credit cards, or Apple Pay. That flexibility matters when you are working across borders and prefer not to tie purchases to a single payment method. Plans activate on first use, so you install before you fly and activate when you land, exactly as this guide recommends. Browse Cryptoesim global plans and pick the coverage that matches your next destination.
FAQ
What devices support the eSIM activation process?
iPhone XS and newer support eSIM, along with most Android flagship devices from 2020 onward. Your device must also be carrier-unlocked to accept a third-party profile.
How long does eSIM installation take?
Installation takes 30 seconds to 3 minutes depending on your Wi-Fi speed. A stable connection is required because the profile file runs between 100 and 500 KB.
Can I use multiple eSIM profiles on one device?
Most devices store multiple profiles but activate only one or two at a time. Label each profile with the destination and date range to avoid switching the wrong one at a border.
What should I do if my eSIM shows no network after activation?
Toggle airplane mode on for 10 seconds, then off. Also confirm that data roaming is enabled on the eSIM line and disabled on your home SIM, as the wrong roaming settings are the most common cause of this issue.
Are QR codes reusable for eSIM setup?
QR codes are single-use only. Save the manual activation code from your provider as a backup before scanning, since a used or lost QR code cannot always be reissued.